
Code Injection
Overview
Now that I have the gamecubes xor key I wanted some way to inject my own code when the gamecube started up. To do this I placed a small amount of power pc assembler code xor'ed (encrypted) with the gamecubes key within a CPLD. At startup the gamecube reads the encrypted OS (IPL) from U10 decrypts it and places it into RAM for execution. The CPLD will sit between the flipper chip (which contains the decryption logic) and U10. At startup the CPLD will inject my encrypted code at the start of IPL and hence will be the first code to be decrypted and executed (after BL1).
The code I injected (held within the CLPD) copies the first page (256 bytes) from an Atmel at45db041d serial flash chip connected to memory card slot B into RAM location 0x81000000 then jumps to this location. The code on the first page of the serial flash chip copies the remaining 2047 pages (2047 * 256 = 511kb) into RAM location 0x80003100 - 0x80082d00 and then jumps to the start of it. I wanted to just copy all 2048 from serial flash into RAM and jump to it. However the CPLD was to small to fit all the code inside so I had to split the code loading into two parts, so I ended up with a two stage boot process.
Injected code
Here is the small assembler code (called NewLoader.s) I wrote to copy the first page of serial flash into the gamecubes RAM. I used the ppc assembler that came with devkitpro to assemble the code, so you will need to download that if you want to compile the code yourself.
VHDL code
To inject the code I used a Xilinx XL9572XL CPLD, to store the NewLoader code within the CPLD I simply copied the binary data into a VHDL source file and compiled the VHDL. Here is the VHDL code I used to store / inject the NewLoader code, the zip file contain the vhdl source and constrains file used. To compile the code for the cpld I used Xilinx's ISE design suite.
CPLD hardware
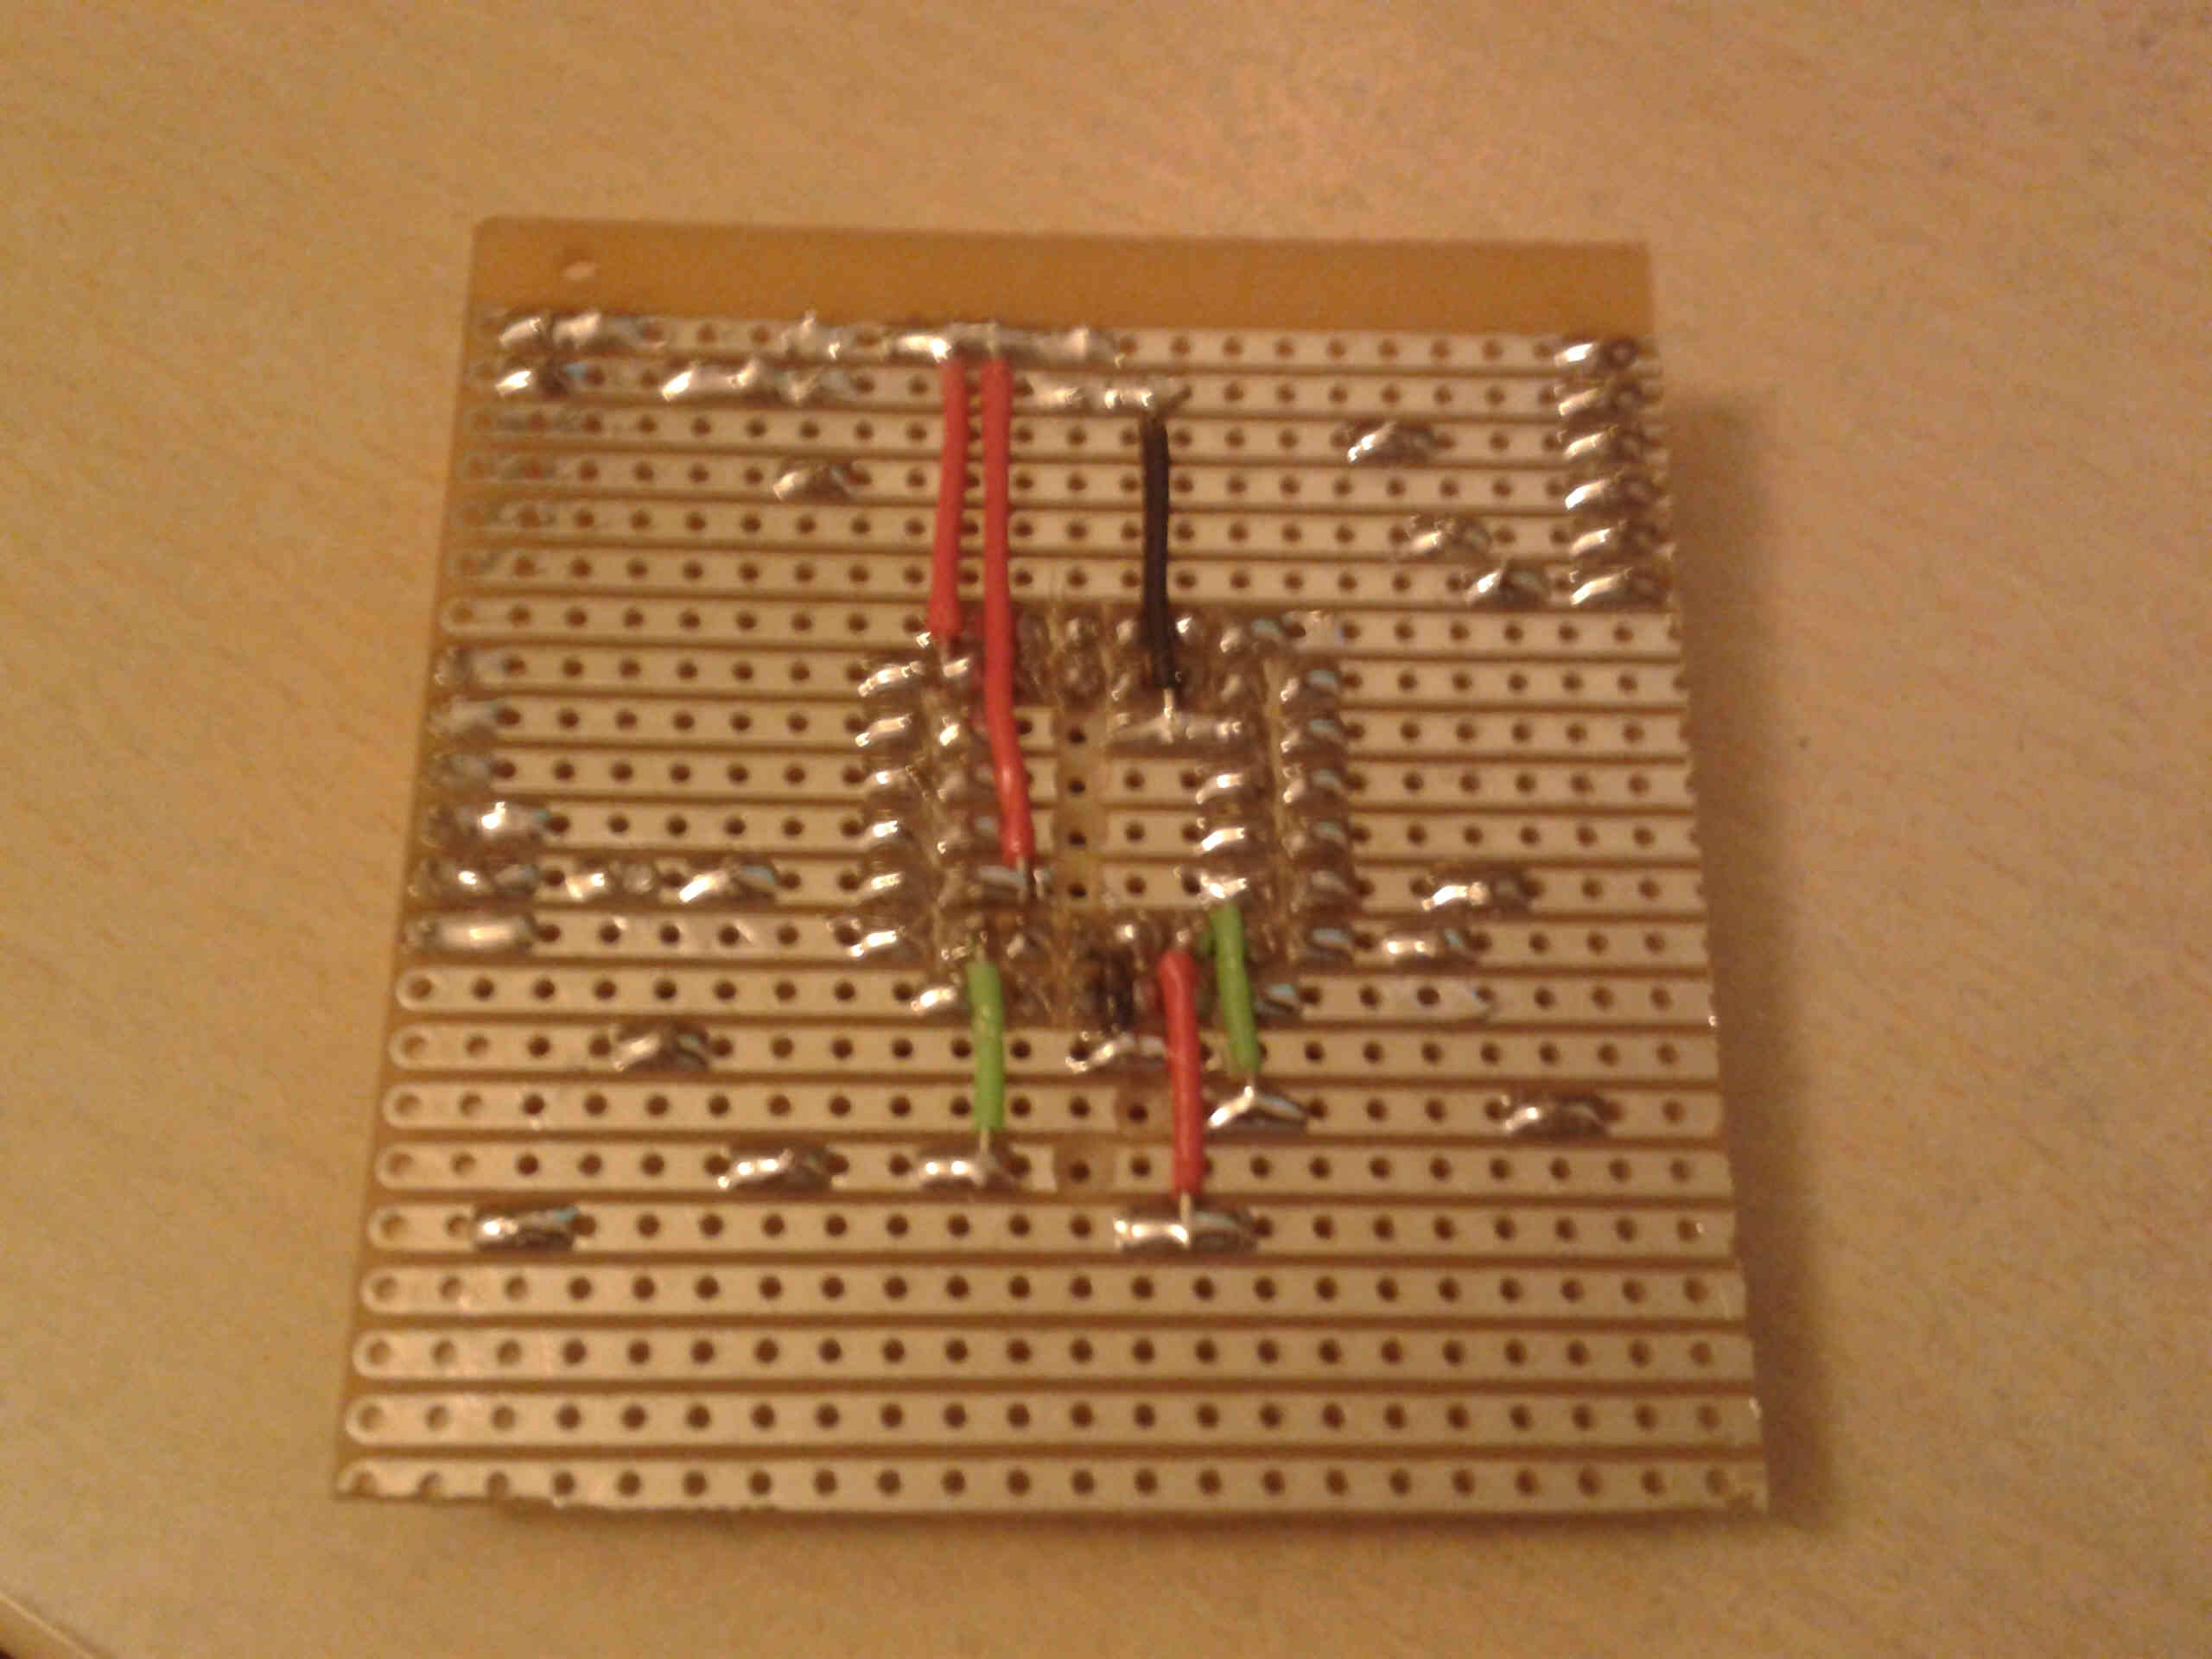
I created a vero board that held a PLCC packaged XL9572XL cpld with connections for programming and gamecube interfacing. Below is the pinout of the boards cpld and some pictures.
PIN17 TCK
PIN15 TDI
PIN30 TDO
PIN16 TMS
PIN29 TRIGGER
PIN33 CS
PIN35 CLK
PIN37 SOUT
PIN39 SIN
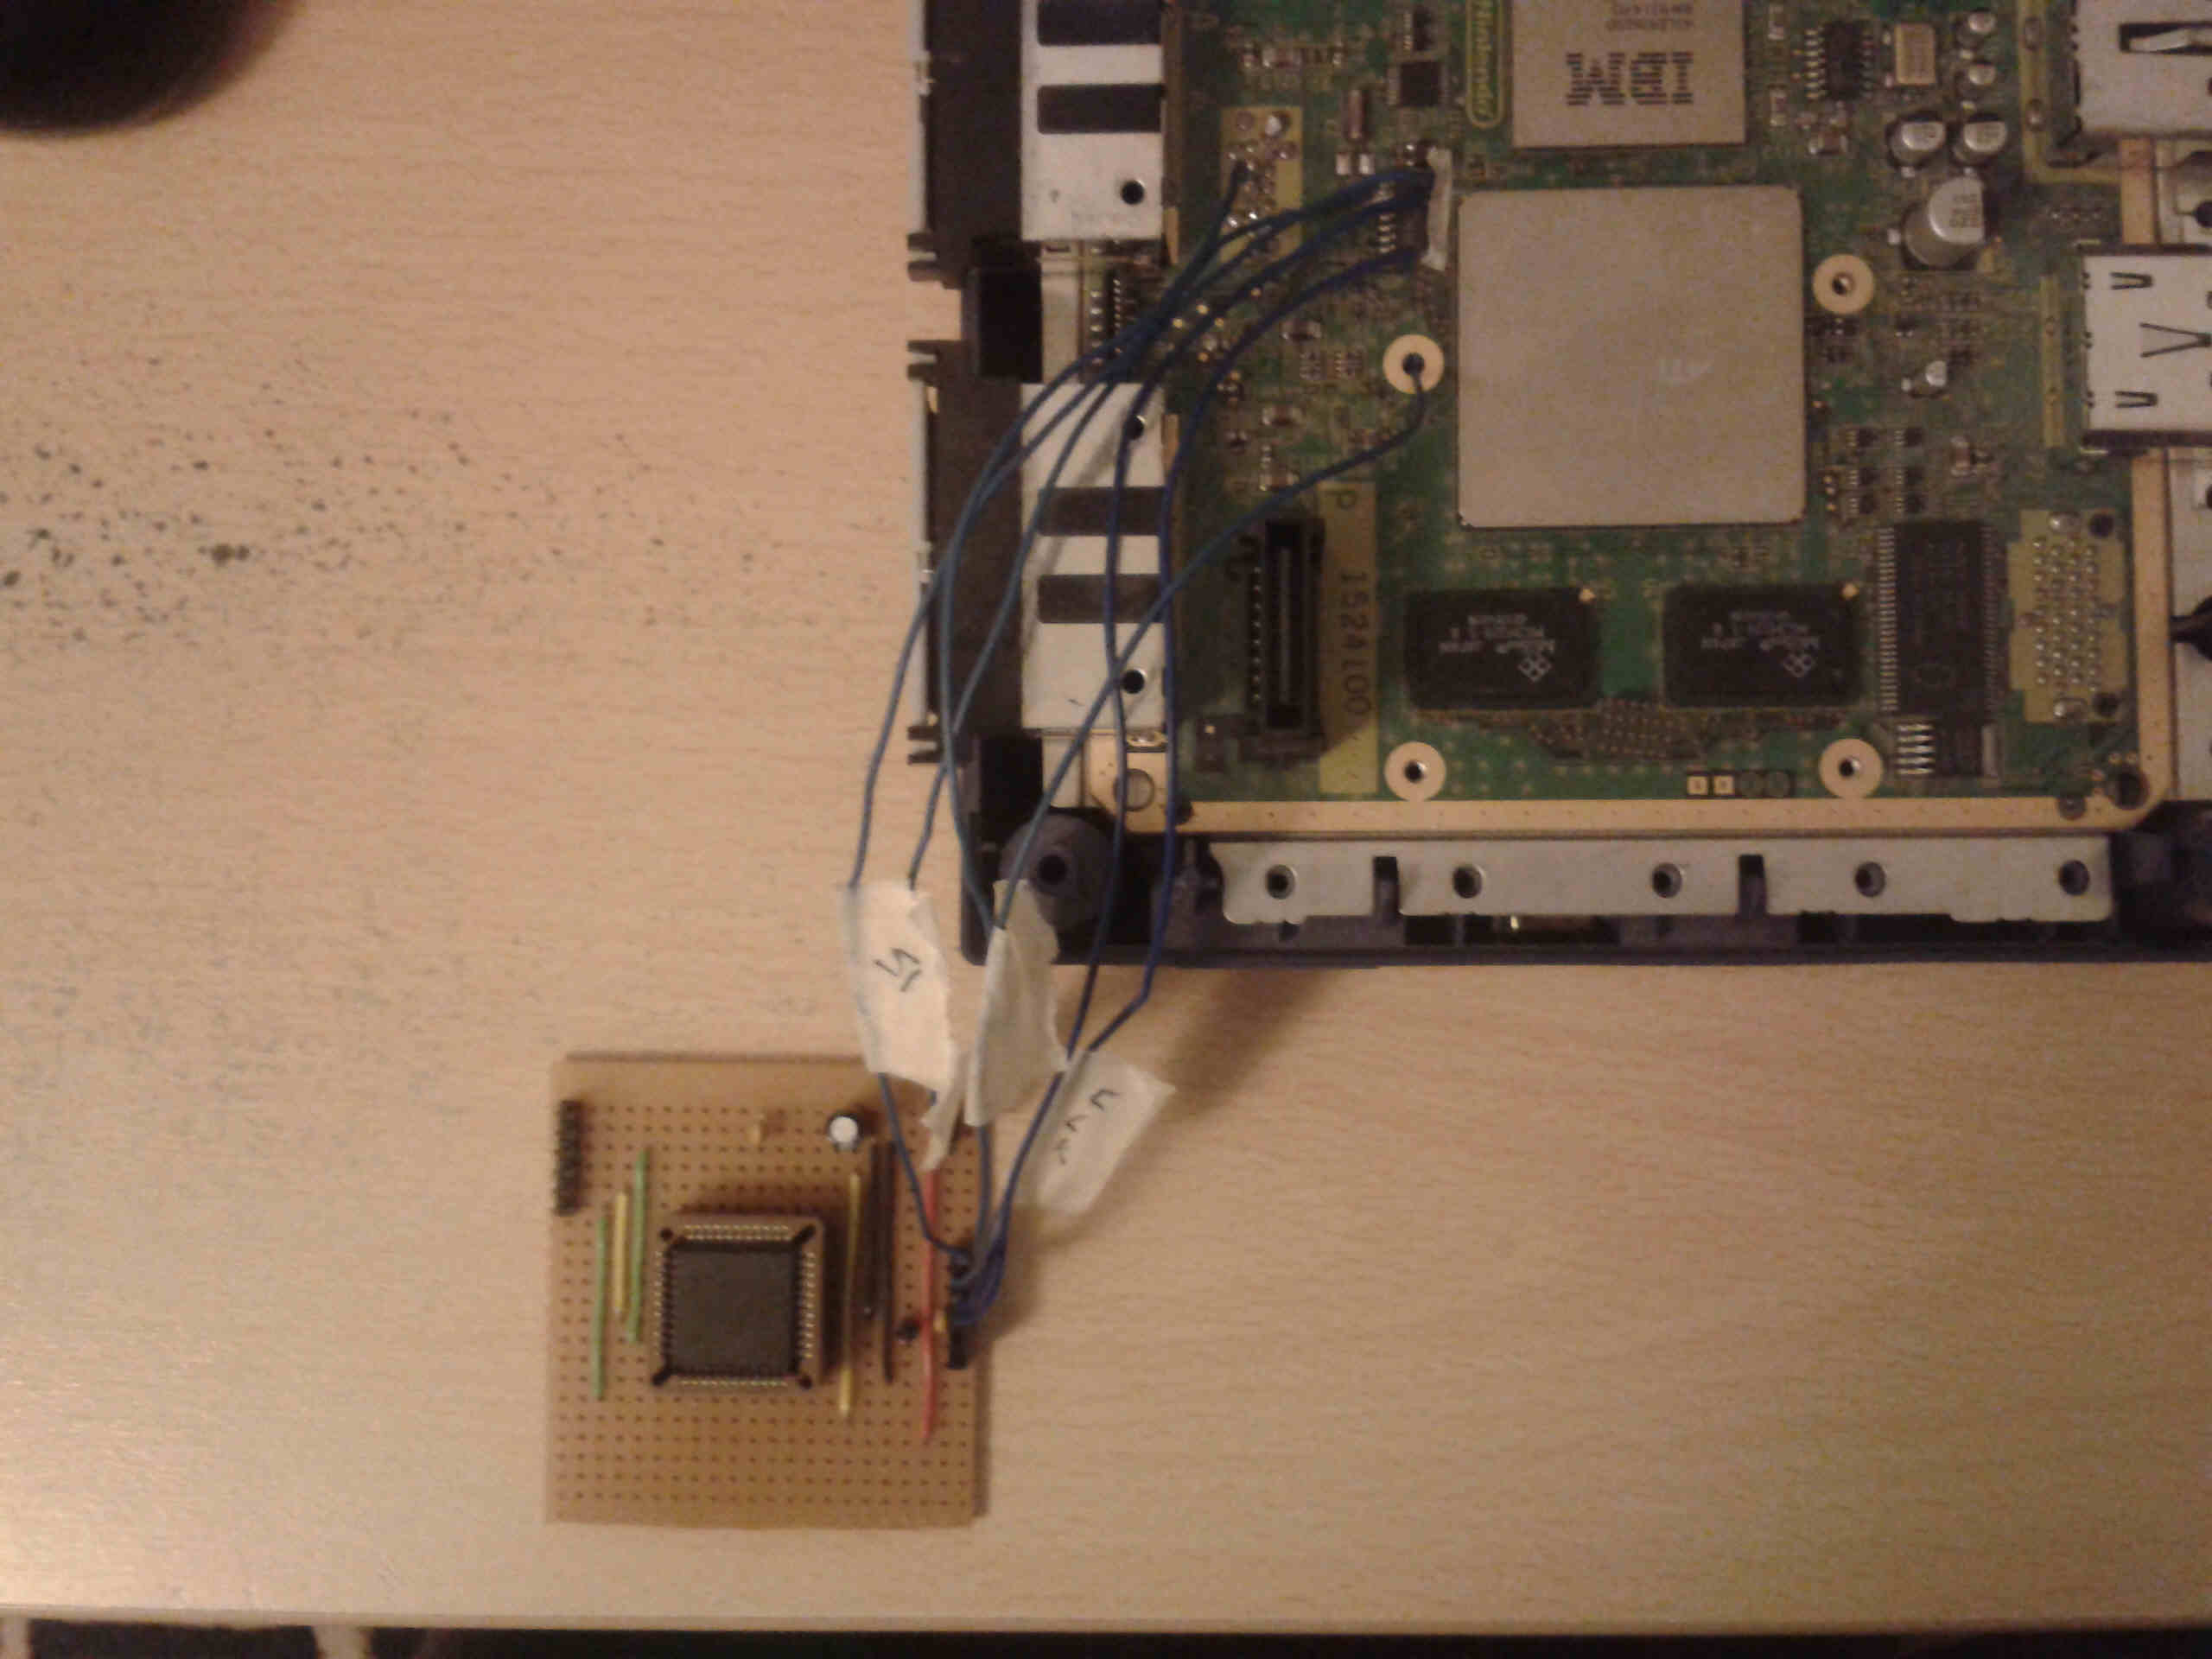
CPLD / gamecube connections
To inject the code I placed the CPLD between the flipper chip and U10 (ROM IC). Below is the pin connections used
U10 CPLD Flipper chip
PIN1 clk PIN35 clk N/A
PIN5 /CS PIN33 /CS N/A
PIN7 GND GND N/A
PIN9 S0 PIN39 SI N/A
N/A PIN37 S0 FIL34 SI
I lifted pin 9 (serial out) of U10 from it pad and soldered a wire from this pin into pin 39 (serial in) of the CPLD. I then soldered a wire from pin 37 (serial out) of the cpld into component FIL34 on the underside of the gamecube motherboard. This effectively places the CPLD directly between U10's output and the flippers input.
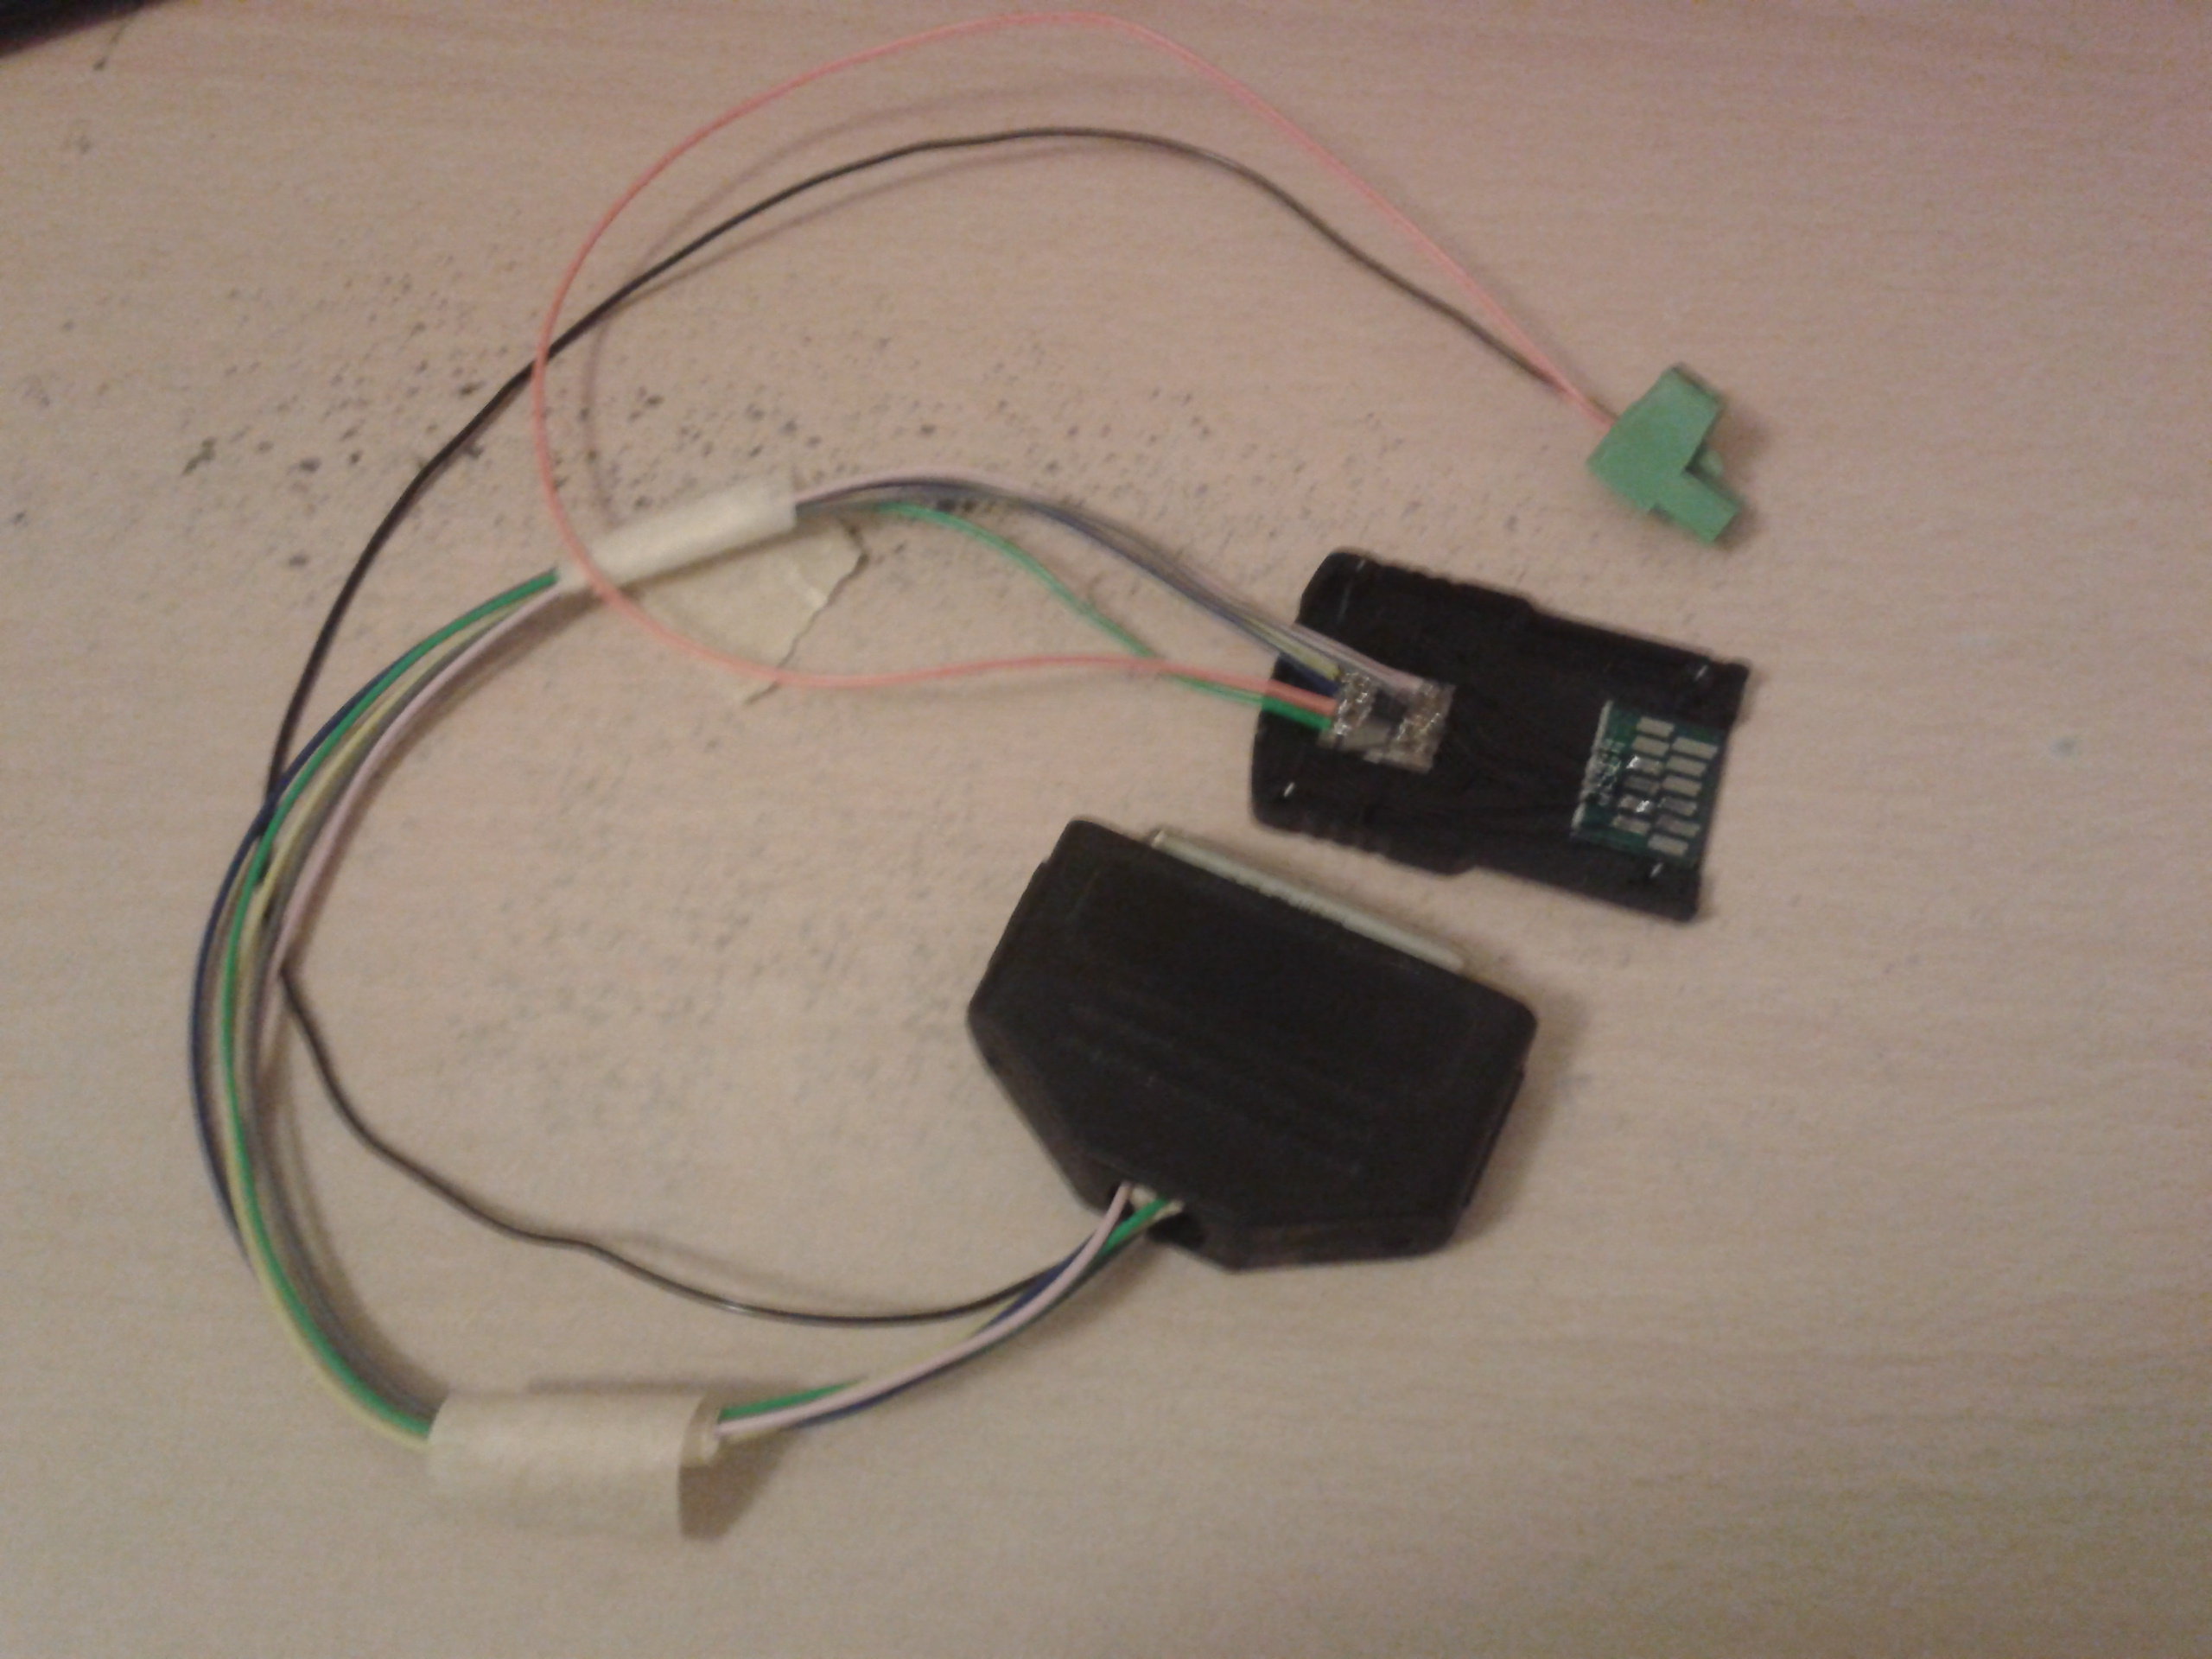
Serial Flash hardware
To actually upload anything into the gamecubes ram an atmel serial flash device needs to be connected to memory card slot B. I used an old gamecube memory card to house and connect an atmel at45db041d serial flash device to the gamecube. I cut the old memory cards PCB in half and kept the edge connector end of the PCB. I then glued the serial flash chip and edge connector PCB into the house of the memory card and finally soldered the two together. The result of this hack up ;-) is shown below.
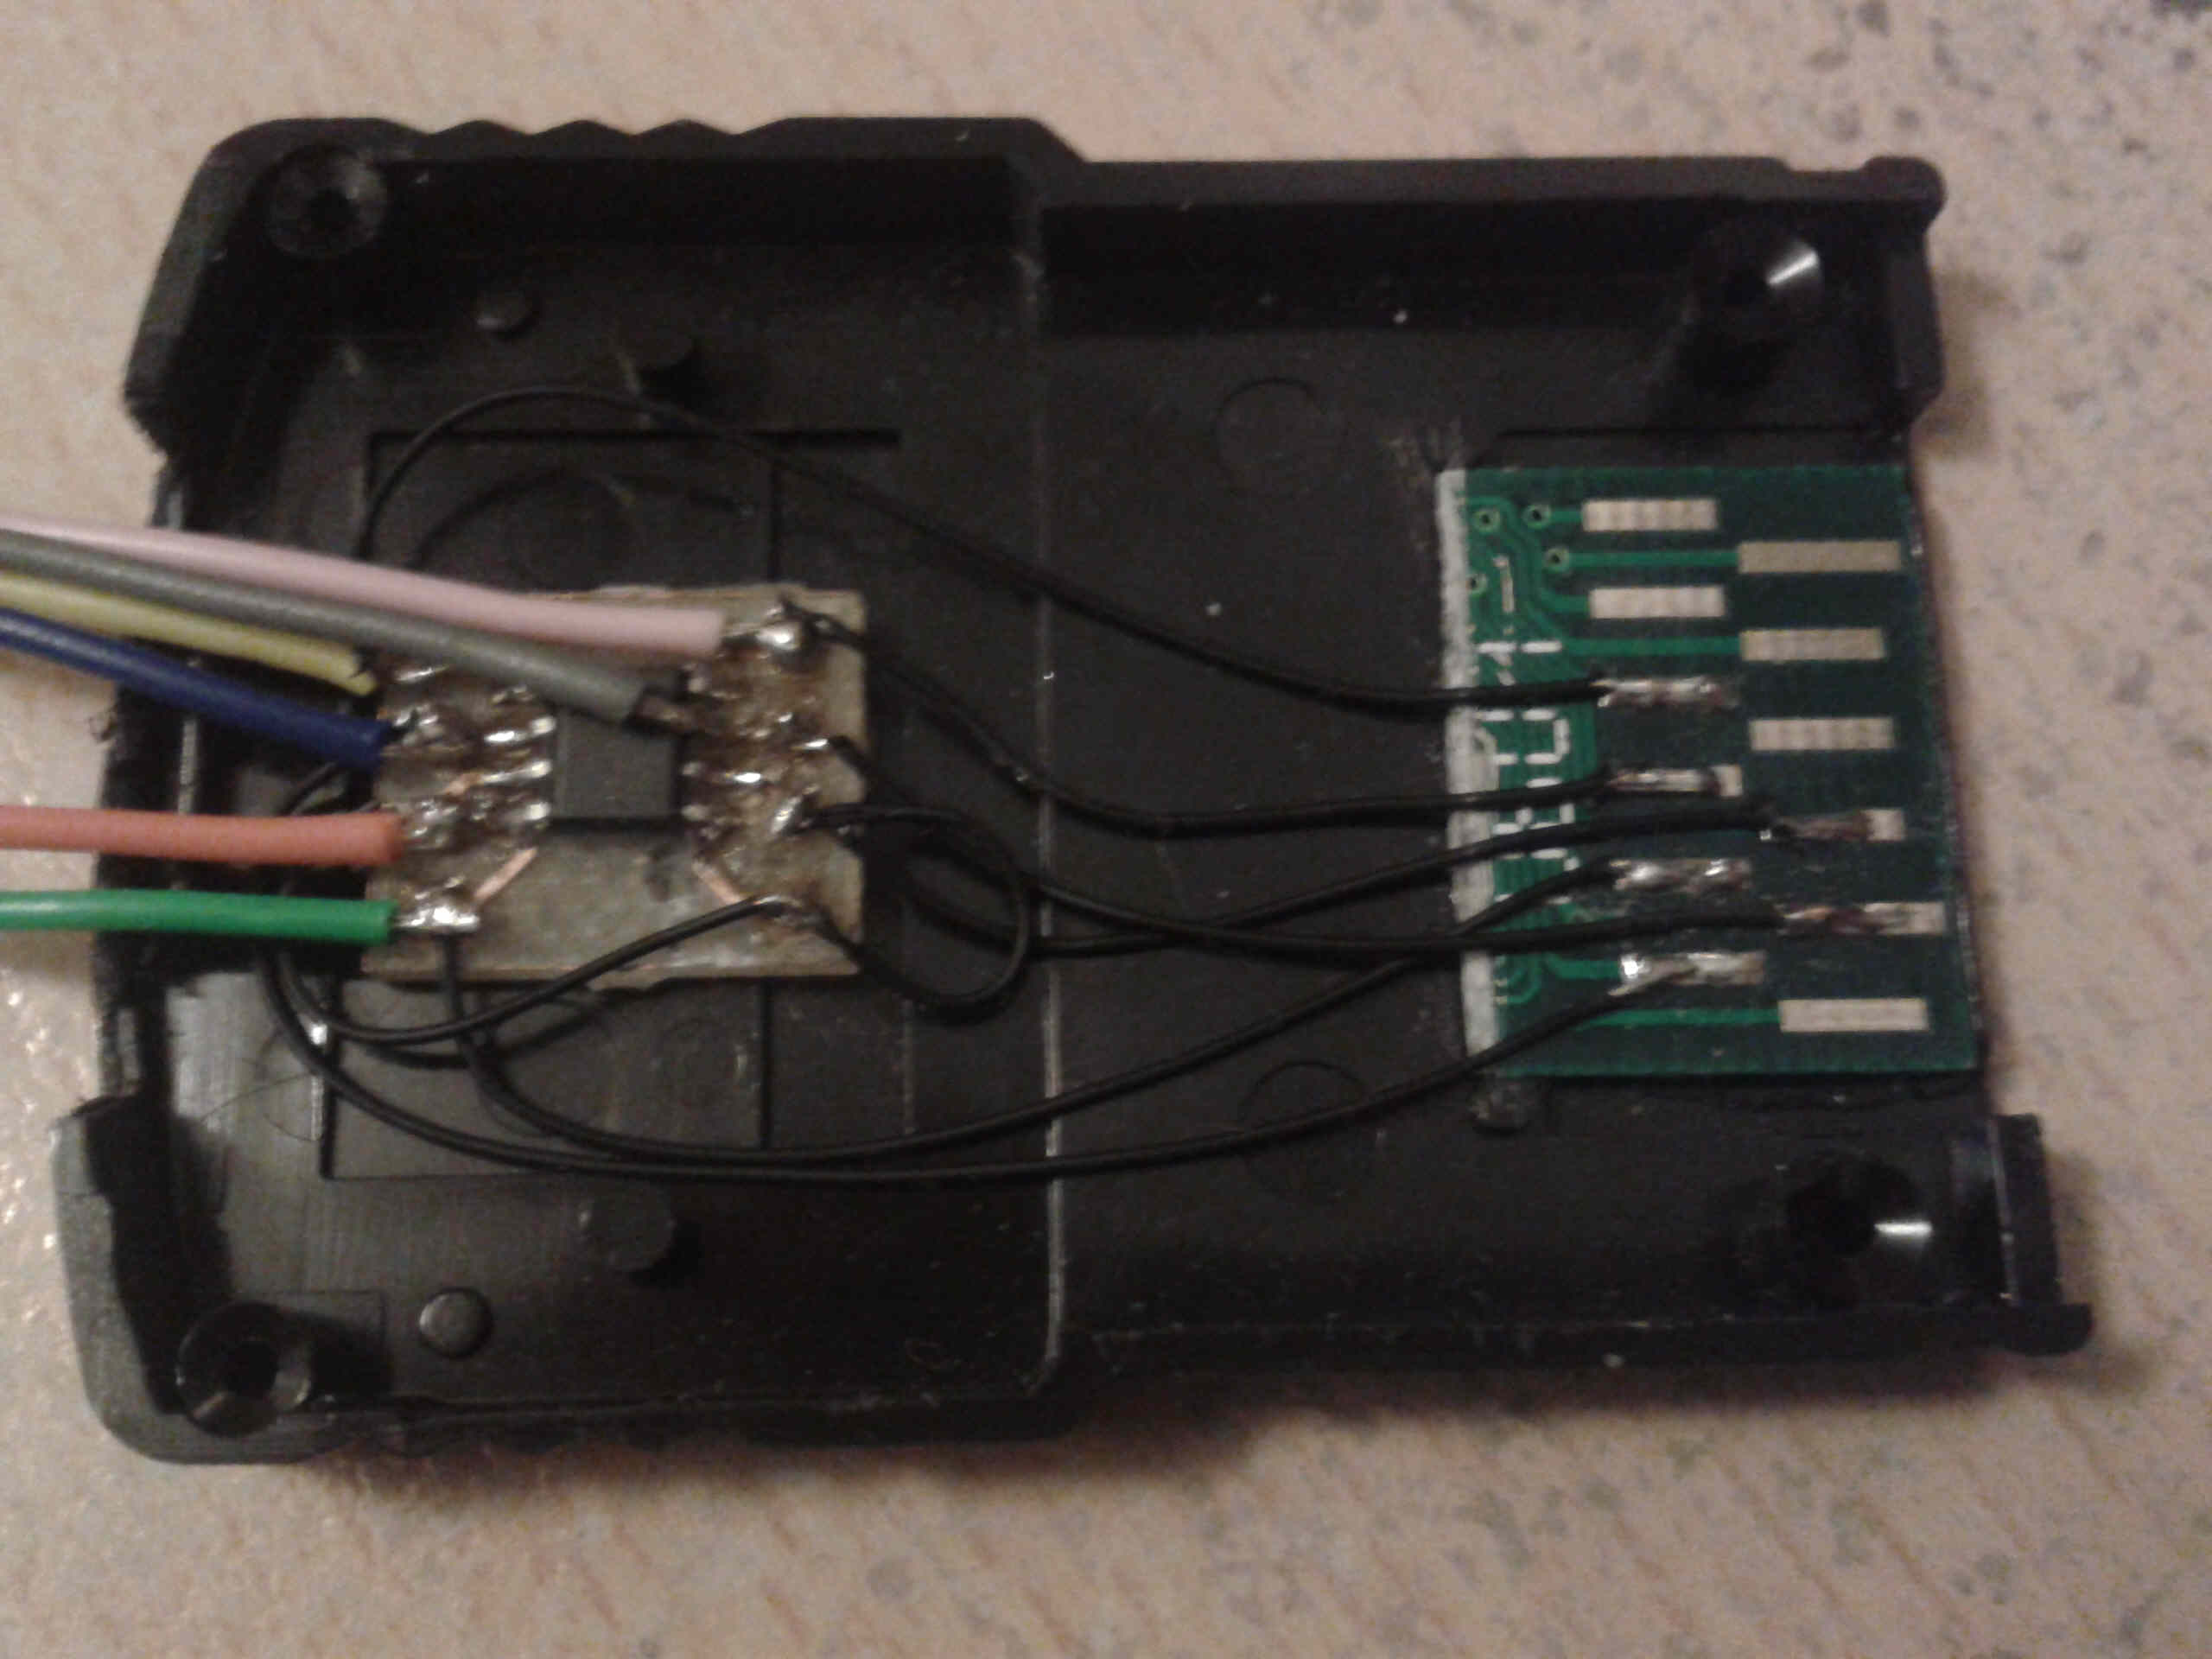
and the pinout connects of this monster are...
Serial Flash Memory card
PIN1 SI PIN5 DI
PIN2 SCK PIN11 CLK
PIN3 RESET Connected to VCC
PIN4 CS PIN9 CS
PIN5 /WP Connected to VCC
PIN6 VCC PIN8 VCC(3.3V)
PIN7 GND PIN10 GND
PIN8 SO PIN7 Data line 0 (DO)
Serial flash lead
Next up I needed some way to program the atmel serial flash chips data pages, to do this I connected a parallel port connector to the serials flashes SPI lines. Below is a schematic of the connections between the parallel port connector and the serial flash.
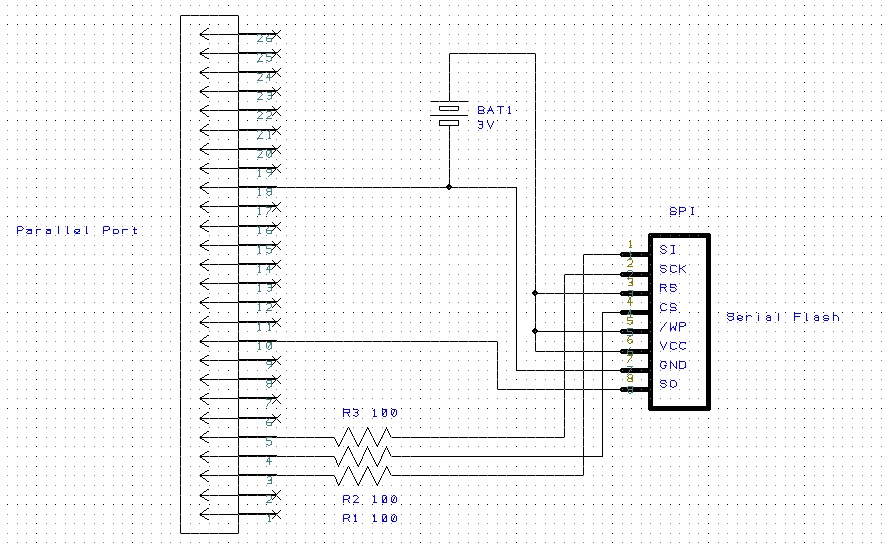
As the Serial flash chip runs from 3.3V and most parallel ports run at 5 volts I have include 100 ohms resisters to drop the excess voltage. So the final serial flash card / cable looked like this.
This allowed me to program up the serial flash chip via the PC's parallel port and also once flashed allowed me to run the code on it be plugging it into memory slot B of the gamecube (Note I never had the parallel port and gamecube connect to the serial flash chip at the same time).
Programming tools
So now that I had a way to inject my code at gamecube startup and some hardware to store (serial flash chip) my code. I needed a program to flash the serial flash chip via the PC's parallel port, the program below takes two powerpc binary files and downloads them into the serial flash chip.
The command line syntax to flash the chip is as follows card.exe binary1.bin binary2.bin. Where binary1.bin is the code to sits in the first flash page and binary2.bin will be flashed into the remainder of the serial flash chips pages.
As discussed in the overview the CPLD will copy the serials flash chips first page into the gamecubes RAM and execute it. So binary1.bin is the first bit of are payload that gets run, I use binary1.bin to load the remainder of the serial flashes pages into gamecube memory. Hence binary1.bin just loads binary2.bin into memory and executes it. For me binary1.bin is really an extension of the boot code I cant fit into the CPLD. Binary2.bin is the actual program I wanted to execute.
Payload code
Below is the source code I programmed into the serial flash chip using the program above
Boot (this just loads the rest of the pages from serial flash chip (its basically binary1.bin from the example above))
ConsoleTest (Simple program to print something to the screen (its basically binary2.bin from the example above))
to compile the code I used the compiler that came with devkitpro.